Chocolate Hazelnut Tart
Highlighted under: Golden Bakes
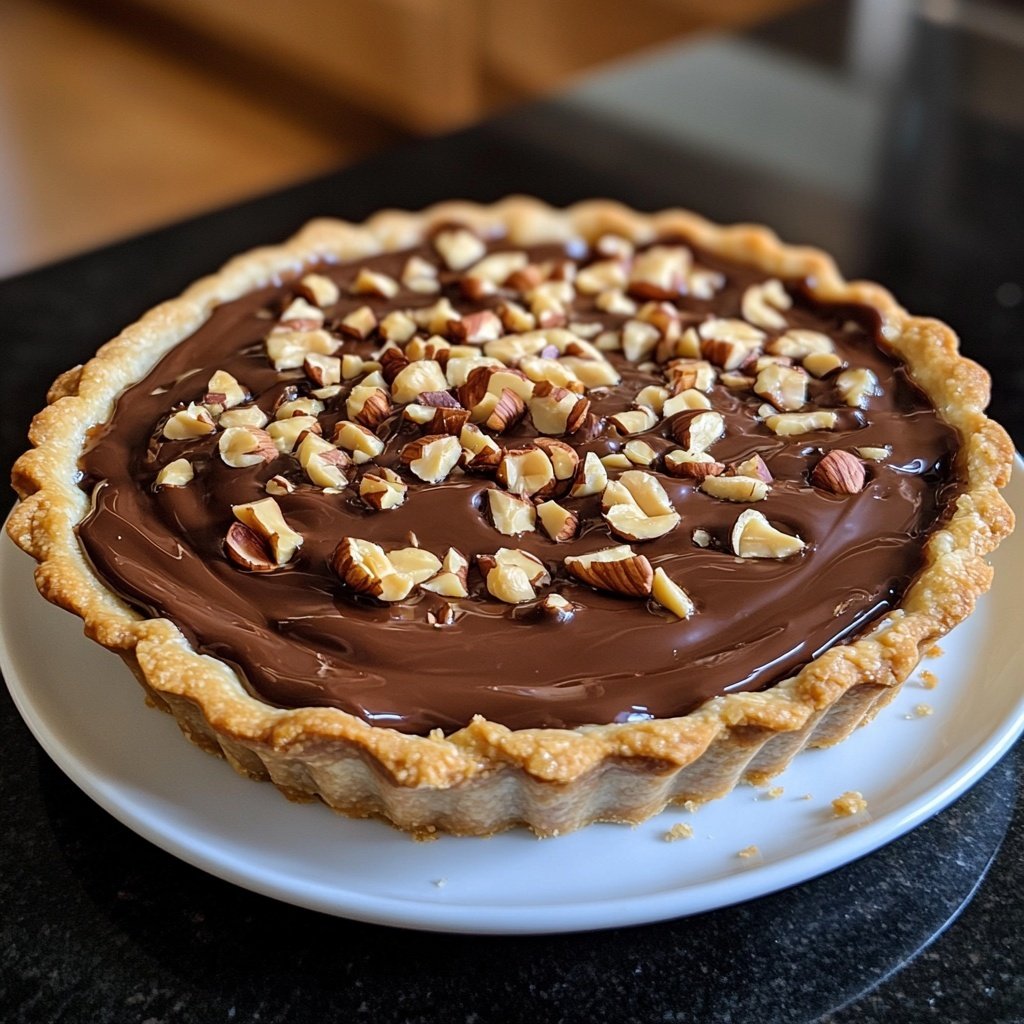
I absolutely love making this Chocolate Hazelnut Tart! The combination of rich chocolate and crunchy hazelnuts creates an indulgent dessert that never fails to impress. Each bite is a delightful treat, perfect for any occasion. I’ve spent countless hours perfecting the balance of flavors, ensuring that every slice is as luxurious as it is satisfying. Whether I’m celebrating a special event or simply treating myself, this tart is my go-to recipe. Let me guide you through this delicious creation!
When I first tasted a Chocolate Hazelnut Tart at a quaint café in Italy, I knew I had to recreate it at home. The tart’s deep flavors and buttery crust captivated my taste buds, so I experimented with different recipes until I found the perfect combination. The secret lies in using high-quality chocolate and toasting the hazelnuts just right to bring out their nutty aroma. It’s been a delightful journey!
The best part of making this tart is assembling it. After baking the crust and letting it cool, I pour in the silky chocolate filling. I always top it off with crushed hazelnuts for an extra crunch and beautiful presentation. It’s a dessert that not only tastes amazing but also looks stunning on any table!
Why You'll Love This Tart
- Rich chocolate flavor paired with crunchy hazelnuts
- Silky filling enveloped in a buttery crust
- Perfect for impressing guests or a special treat
Perfecting the Tart Crust
The tart crust is the foundation of this Chocolate Hazelnut Tart, and it's essential to get it just right. I recommend using cold butter and incorporating it until the mixture resembles coarse crumbs, which ensures a flaky texture. Avoid overworking the dough; you want to bring it together gently to maintain that tender consistency. If your dough seems too dry, a teaspoon of cold water can help, but too much will make it tough.
Chilling the crust before baking is another crucial step. If you skip this, the crust might shrink while baking. Refrigerating for at least 15 minutes helps it firm up, preventing excessive shrinkage. When you bake the crust, look for a light golden color, indicating that it's fully cooked. This visual cue means you’ve achieved the right balance between a crisp exterior and a soft, buttery interior.
Crafting the Chocolate Filling
When making the chocolate filling, choose high-quality dark chocolate, ideally with at least 60% cocoa content. This will enhance the overall richness and flavor depth of your tart. Melting the chocolate with heavy cream over simmering water allows for gentle heat, ensuring a smooth, glossy finish without burning the chocolate. Stir continuously until the mixture is fully combined and silky.
Incorporating the eggs into the warm chocolate mixture requires care to prevent scrambling. Allow the melted chocolate to cool slightly before adding the eggs, beating them in quickly to maintain the creamy texture. Folding in the hazelnuts last adds a delightful crunch and a nutty aroma that complements the rich chocolate beautifully.
Serving and Storing Your Tart
Once you've baked your tart, it’s essential to let it cool completely before serving. This not only improves the texture but also allows the filling to set properly, which is crucial for clean slices. I like to refrigerate the tart for an hour before serving; this enhances the flavors and makes it even more refreshing. When ready to serve, dust a little powdered sugar or drizzle melted chocolate on top for an elegant finishing touch.
For storage, wrap the cooled tart tightly in plastic wrap and keep it in the fridge for up to a week. If you want to make it ahead of time, the tart can be assembled and baked, then stored as described. However, frozen tarts are also an option; wrap well and freeze for up to a month. Thaw in the fridge overnight before serving to ensure the best texture.
Ingredients
For the Tart Crust
- 1 1/2 cups all-purpose flour
- 1/3 cup powdered sugar
- 1/2 teaspoon salt
- 1/2 cup unsalted butter, softened
- 1 large egg yolk
- 2 tablespoons cold water
For the Chocolate Filling
- 8 ounces dark chocolate, chopped
- 1/2 cup heavy cream
- 2 large eggs
- 1/2 teaspoon vanilla extract
- 1 cup toasted hazelnuts, roughly chopped
Instructions
Make the Tart Crust
In a large bowl, combine flour, powdered sugar, and salt. Cut in the softened butter until the mixture resembles coarse crumbs. Stir in the egg yolk and cold water until the dough comes together. Press the dough into a tart pan and refrigerate for 15 minutes. Bake at 350°F (175°C) for 20 minutes or until lightly golden.
Prepare the Chocolate Filling
While the crust cools, melt the chopped chocolate and heavy cream in a heatproof bowl over simmering water, stirring until smooth. Remove from heat and let cool slightly. Beat in the eggs and vanilla extract until combined. Fold in the toasted hazelnuts.
Assemble and Bake
Pour the chocolate filling into the cooled tart shell and bake for 25 minutes, or until set around the edges but slightly wobbly in the center. Allow to cool completely before serving.

Pro Tips
- For an even more decadent experience, try serving this tart with a dollop of whipped cream or a scoop of vanilla ice cream.
Ingredient Substitutions
If you're in need of a gluten-free option, substitute the all-purpose flour with a 1:1 gluten-free flour blend. This will maintain the crust's structure while accommodating dietary restrictions. Be sure to check that any chocolate you use is also gluten-free, as some brands contain traces of gluten due to processing.
For a dairy-free version, use coconut oil or vegan butter in place of the unsalted butter in the crust, and replace the heavy cream with a high-quality coconut cream. Simply melt the alternate fats and mix as directed, ensuring the texture remains rich and satisfying.
Troubleshooting Common Issues
If your tart crust shrinks too much during baking, try rolling it out a little thicker next time to provide a buffer for shrinkage. Additionally, ensure that the dough was well-chilled before baking. If you notice cracks in the chocolate filling after baking, this can happen from overbaking; keep an eye on the time and remove it when it’s set around the edges but still slightly wobbly in the center.
For a filling that might turn out too thick, ensure that you are using the correct ratios of chocolate to cream and that you fully incorporate eggs without overmixing. A smoothly mixed filling is crucial for a velvety texture, so take your time during the mixing process to achieve the best results.
Variations on the Classic Recipe
For a twist on the classic chocolate hazelnut theme, consider adding a layer of raspberry jam between the crust and the chocolate filling. The tartness of the raspberries pairs wonderfully with the sweetness of the chocolate, creating a dynamic flavor contrast.
You can also experiment with flavored extracts, such as orange or coffee, to give a unique depth to the chocolate filling. Just a half teaspoon of orange zest or a shot of espresso can elevate the chocolate flavor and add exciting new notes to your tart.
Questions About Recipes
→ Can I make this tart ahead of time?
Yes, you can prepare the tart up to a day in advance. Just cover it tightly and refrigerate.
→ How do I store leftovers?
Store any leftovers in an airtight container in the refrigerator for up to three days.
→ Can I substitute other nuts for hazelnuts?
Absolutely! You can use almonds or pecans if you prefer.
→ Is there a gluten-free option for the crust?
Yes, you can substitute the all-purpose flour with a gluten-free flour blend.
Chocolate Hazelnut Tart
Created by: Stella Cameron
Recipe Type: Golden Bakes
Skill Level: Intermediate
Final Quantity: 8 servings
What You'll Need
For the Tart Crust
- 1 1/2 cups all-purpose flour
- 1/3 cup powdered sugar
- 1/2 teaspoon salt
- 1/2 cup unsalted butter, softened
- 1 large egg yolk
- 2 tablespoons cold water
For the Chocolate Filling
- 8 ounces dark chocolate, chopped
- 1/2 cup heavy cream
- 2 large eggs
- 1/2 teaspoon vanilla extract
- 1 cup toasted hazelnuts, roughly chopped
How-To Steps
In a large bowl, combine flour, powdered sugar, and salt. Cut in the softened butter until the mixture resembles coarse crumbs. Stir in the egg yolk and cold water until the dough comes together. Press the dough into a tart pan and refrigerate for 15 minutes. Bake at 350°F (175°C) for 20 minutes or until lightly golden.
While the crust cools, melt the chopped chocolate and heavy cream in a heatproof bowl over simmering water, stirring until smooth. Remove from heat and let cool slightly. Beat in the eggs and vanilla extract until combined. Fold in the toasted hazelnuts.
Pour the chocolate filling into the cooled tart shell and bake for 25 minutes, or until set around the edges but slightly wobbly in the center. Allow to cool completely before serving.
Extra Tips
- For an even more decadent experience, try serving this tart with a dollop of whipped cream or a scoop of vanilla ice cream.
Nutritional Breakdown (Per Serving)
- Calories: 380 kcal
- Total Fat: 26g
- Saturated Fat: 15g
- Cholesterol: 195mg
- Sodium: 85mg
- Total Carbohydrates: 32g
- Dietary Fiber: 3g
- Sugars: 24g
- Protein: 6g