Mini Red Velvet Layer Cakes
Highlighted under: Golden Bakes
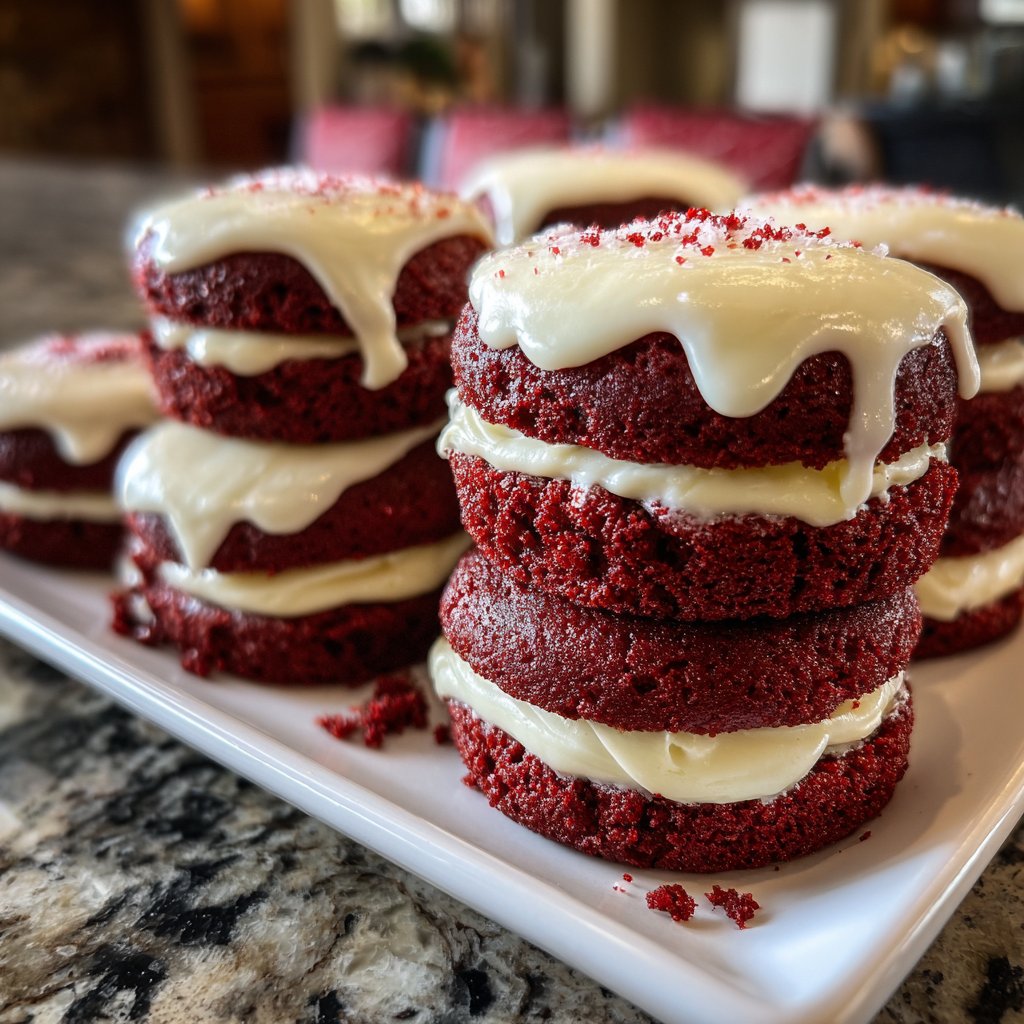
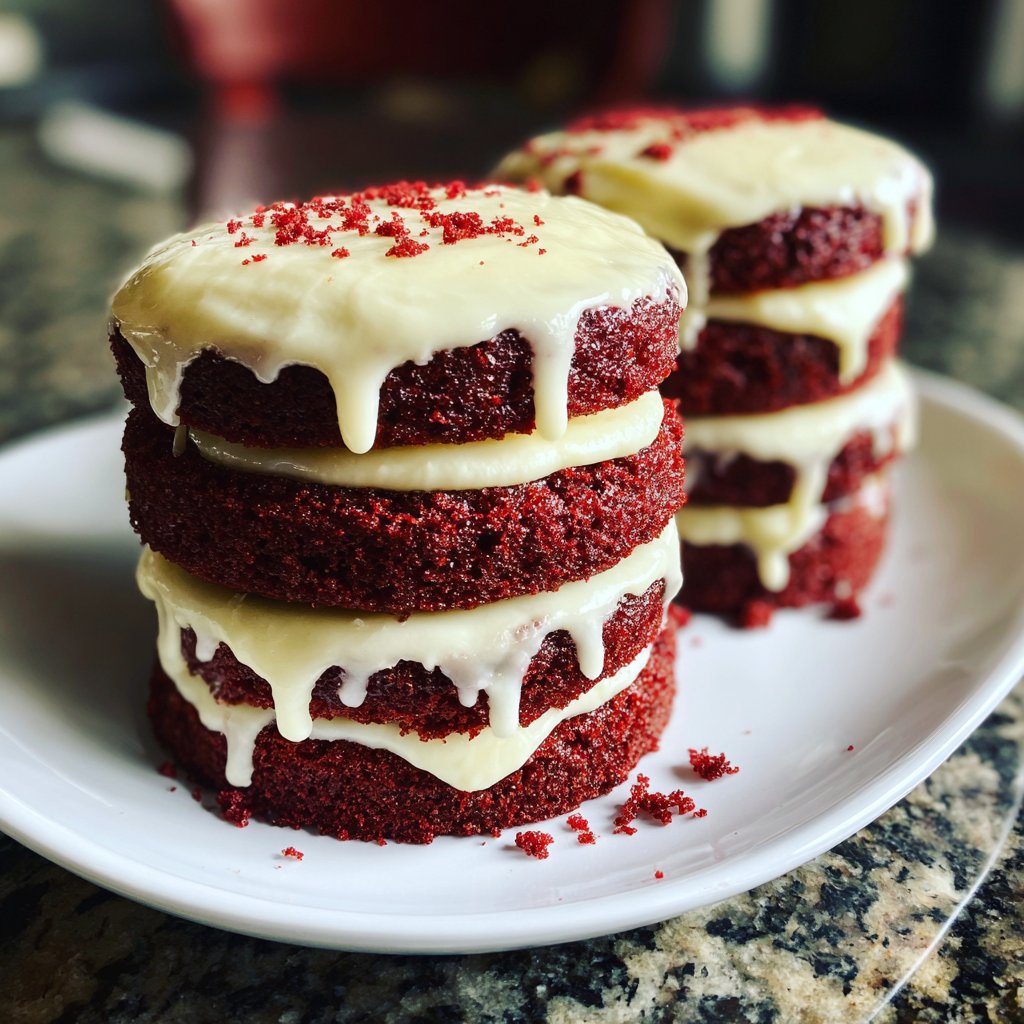
I love baking treats that not only taste amazing but also look delightful. These Mini Red Velvet Layer Cakes are the perfect combination of rich flavors and beautiful presentation. The vibrant red color and cream cheese frosting make them irresistible at any gathering. Each bite is a balance of sweetness and a hint of cocoa that keeps you coming back for more. Perfect for sharing, they are a fun twist on the classic red velvet, and I guarantee they will impress your friends and family!
When I first tried making Mini Red Velvet Layer Cakes, I was amazed by how quickly they came together and how stunning they looked on the plate. The secret to a moist cake is in the buttermilk, which not only adds richness but also tenderizes the crumb. I love the way the cocoa powder complements the cream cheese frosting, creating a delightful flavor contrast.
One detail that really makes a difference is using a good quality red food coloring. It not only enhances the color but also deepens the flavor profile of the cake. I remember bringing these to a friend’s gathering, and they were a hit—disappearing within minutes! It's always satisfying to share such a delicious creation.
Why You Will Love This Recipe
- Delicate layers that melt in your mouth
- Vibrant color that adds a festive touch
- Creamy frosting perfectly complements the cake's texture
Key Techniques for Perfect Mini Layer Cakes
When baking these Mini Red Velvet Layer Cakes, one of the most important techniques to master is the mixing method. To avoid overmixing, which can lead to dense cakes, mix the dry and wet ingredients until just combined. Lumps are fine; they will bake out and give you lighter, fluffier cakes. This will ensure that your cakes have delicate layers that melt in your mouth.
Also, be sure to check your oven temperature with an oven thermometer. Ovens can often be off by several degrees. Baking at the correct temperature is crucial to achieve the perfect rise and avoid undercooked centers. Look for a clean toothpick when testing for doneness; you want the cakes to spring back when gently pressed.
Understanding Your Ingredients
Each ingredient in this recipe plays a vital role in the final product. The buttermilk, for example, not only contributes to a tender crumb but also reacts with the baking soda to create lift. If you don't have buttermilk on hand, you can substitute it with regular milk mixed with a tablespoon of vinegar or lemon juice. Let it sit for about 5-10 minutes until it thickens slightly.
Cream cheese frosting is a classic for red velvet cakes due to its tangy flavor, which contrasts beautifully with the sweetness of the cake. Make sure both the cream cheese and butter are softened at room temperature before mixing to create a smooth, lump-free frosting. If the frosting is too thick, you can add a tablespoon of milk to reach your desired consistency.
Storage and Serving Suggestions
These Mini Red Velvet Layer Cakes can be stored in an airtight container in the refrigerator for up to five days. To keep them fresh, try to separate the layers with parchment paper to prevent the frosting from sticking. If you want to prep ahead of time, the cake layers can be baked, cooled, and frozen for up to three months. Just be sure to wrap them tightly in plastic wrap and foil to avoid freezer burn.
For a creative serving idea, consider garnishing your mini layer cakes with fresh berries or chocolate shavings. These touches not only enhance the visual appeal but also add a delightful contrast of flavors. A dusting of powdered sugar on top can also elevate the presentation, especially for special occasions.
Ingredients
Gather all your ingredients before starting.
For the Cake:
- 1 ½ cups all-purpose flour
- 1 cup granulated sugar
- ½ cup unsweetened cocoa powder
- 1 teaspoon baking soda
- ½ teaspoon salt
- 1 cup vegetable oil
- 1 cup buttermilk, room temperature
- 2 large eggs, room temperature
- 2 tablespoons red food coloring
- 1 teaspoon vanilla extract
- 1 teaspoon white vinegar
For the Cream Cheese Frosting:
- 8 oz cream cheese, softened
- ½ cup unsalted butter, softened
- 4 cups powdered sugar
- 1 teaspoon vanilla extract
Make sure to measure accurately for best results.
Instructions
Follow these steps carefully for delicious mini cakes.
Preheat the Oven
Preheat your oven to 350°F (175°C) and line a muffin tin with cupcake liners.
Mix Dry Ingredients
In a medium bowl, sift together flour, sugar, cocoa powder, baking soda, and salt.
Combine Wet Ingredients
In a large bowl, whisk together oil, buttermilk, eggs, red food coloring, vanilla extract, and vinegar until smooth.
Combine Both Mixtures
Gradually add the dry ingredients to the wet ingredients, mixing until just combined.
Bake the Cakes
Pour the batter into the muffin tin, filling each liner about two-thirds full. Bake for 12-15 minutes or until a toothpick comes out clean.
Prepare the Frosting
In a medium bowl, beat cream cheese and butter together until creamy. Gradually add powdered sugar and beat until smooth, then mix in vanilla extract.
Assemble the Cakes
Once the cakes are cool, slice them in half, frost the top of one half, stack the other half on top, and frost the top again for a cute mini layer cake.
Enjoy your beautiful creations!
Pro Tips
- Make sure all your ingredients are at room temperature for the best results. You can also add a dash of lemon juice to the frosting to enhance its flavor.
Common Issues and Troubleshooting
If your cakes domed too much while baking, it could be due to an overabundance of baking soda or incorrect oven temperatures. To prevent this, ensure you measure ingredients carefully and adjust your oven temperature as needed. A flat top is ideal for stacking layers, so ensure that your oven is calibrated correctly to avoid this issue.
Another common issue some bakers face is the frosting becoming too runny, especially in warmer weather. To thicken your frosting, try refrigerating it for about 20-30 minutes, then rebeat it. Alternatively, adding more powdered sugar can help achieve a thicker texture.
Creative Variations to Try
For a unique twist on this classic recipe, try incorporating different flavors into the cake batter. Adding a teaspoon of almond extract along with the vanilla can introduce a lovely nutty flavor. Alternatively, folding in mini chocolate chips before baking can provide a delightful chocolate surprise in every bite.
If you want to change up the frosting, consider a lemon cream cheese frosting for a zesty contrast to the red velvet. Simply mix in some freshly grated lemon zest and a splash of lemon juice into the cream cheese mixture for a refreshing change. This variation not only tastes amazing but also adds a vibrant color contrast to the cake.
Questions About Recipes
→ Can I make these cakes ahead of time?
Yes, you can bake the cakes a day in advance and frost them just before serving.
→ What can I use instead of buttermilk?
You can substitute buttermilk with a mixture of milk and vinegar or yogurt for a similar result.
→ How do I store leftovers?
Store any leftover mini cakes in an airtight container in the refrigerator for up to 3 days.
→ Can I freeze these cakes?
Yes, you can freeze the cakes without frosting for up to a month. Just thaw them before serving.
Mini Red Velvet Layer Cakes
Created by: Stella Cameron
Recipe Type: Golden Bakes
Skill Level: Intermediate
Final Quantity: 12 cakes
What You'll Need
For the Cake:
- 1 ½ cups all-purpose flour
- 1 cup granulated sugar
- ½ cup unsweetened cocoa powder
- 1 teaspoon baking soda
- ½ teaspoon salt
- 1 cup vegetable oil
- 1 cup buttermilk, room temperature
- 2 large eggs, room temperature
- 2 tablespoons red food coloring
- 1 teaspoon vanilla extract
- 1 teaspoon white vinegar
For the Cream Cheese Frosting:
- 8 oz cream cheese, softened
- ½ cup unsalted butter, softened
- 4 cups powdered sugar
- 1 teaspoon vanilla extract
How-To Steps
Preheat your oven to 350°F (175°C) and line a muffin tin with cupcake liners.
In a medium bowl, sift together flour, sugar, cocoa powder, baking soda, and salt.
In a large bowl, whisk together oil, buttermilk, eggs, red food coloring, vanilla extract, and vinegar until smooth.
Gradually add the dry ingredients to the wet ingredients, mixing until just combined.
Pour the batter into the muffin tin, filling each liner about two-thirds full. Bake for 12-15 minutes or until a toothpick comes out clean.
In a medium bowl, beat cream cheese and butter together until creamy. Gradually add powdered sugar and beat until smooth, then mix in vanilla extract.
Once the cakes are cool, slice them in half, frost the top of one half, stack the other half on top, and frost the top again for a cute mini layer cake.
Extra Tips
- Make sure all your ingredients are at room temperature for the best results. You can also add a dash of lemon juice to the frosting to enhance its flavor.
Nutritional Breakdown (Per Serving)
- Calories: 320 kcal
- Total Fat: 18g
- Saturated Fat: 10g
- Cholesterol: 45mg
- Sodium: 220mg
- Total Carbohydrates: 38g
- Dietary Fiber: 1g
- Sugars: 25g
- Protein: 4g